Drawing Break Lines in Autocad
Introduction to Lines in AutoCAD
AutoCAD is a designing and drafting application software where CAD stands for Computer-Aided Design. There are many designing tools in AutoCAD, such as Draw tools, Modify tools, Lyres, Annotation, etc. Lines are of them. The line is a command used in almost every drawing actually; without a line, you cannot draw any object in a drawing project. A line is an interesting tool in AutoCAD, and getting familiar with it is a good feeling; and after having good knowledge about the lines in AutoCAD, you will find you have developed an excellent command of AutoCAD designing software.
Setting Limit in AutoCAD
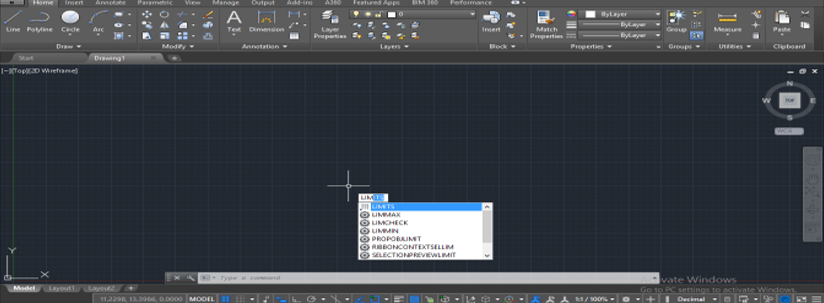
Before drawing in AutoCAD, we have to set a limit for our working space according to our drawing dimensions. Suppose my drawing dimensions are 200 x 200, so I will type limits from keyboard to active limit command and then press Enter key.
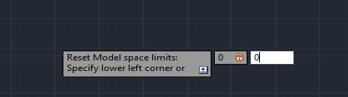
Step 1: Give a lower limit corner as (0,0).
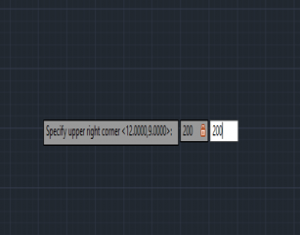
Step 2: And upper limit corner as (200,200) and press Enter key.
Step 3:For applying this limit, I will press the 'z' + Enter key.
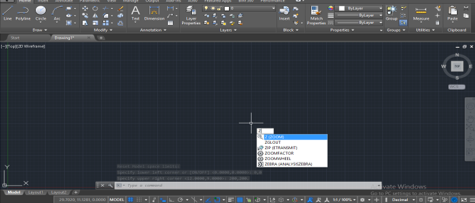
Step 4:And 'a' + Enter key.
Now my workspace is ready according to my drawing. Let us start our tutorial with the lines command in AutoCAD. Lines are the basic command of drawing in AutoCAD. We will learn all aspects of line inline commands.
How to Draw a Straight Line in AutoCAD?
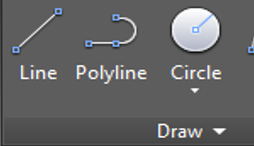
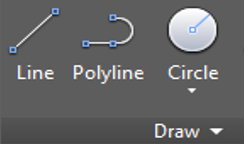
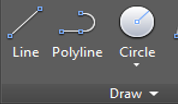
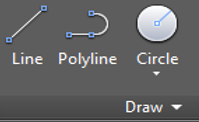
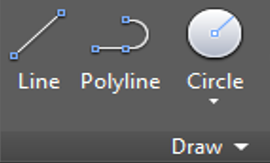
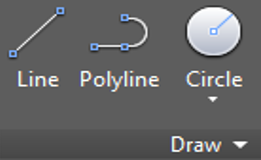
Take line command from the draw tool.
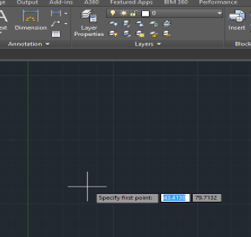
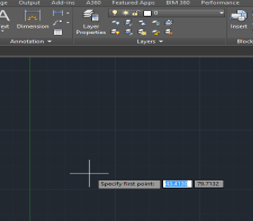
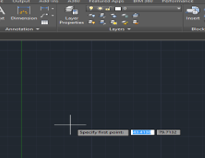
Step 1:Give the first point from where you want to start your line.
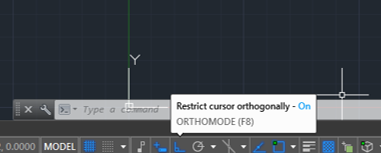
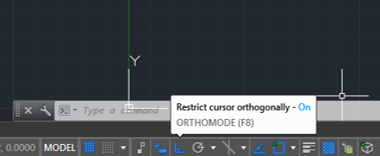
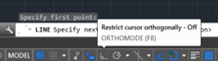
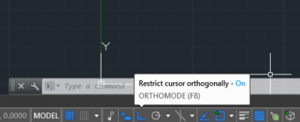
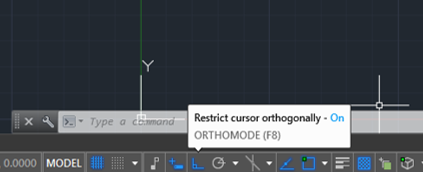
Step 2:Turn Ortho On for creating your line straight; for turning Ortho On, you can press F8 or click on Ortho On option as shown in the below image.
Step 3:Give the direction, give length, then click OK or simply press Enter from the keyboard. To exit any command, just press Enter or Esc button on the keyboard.
Step 4:Here, I will show it by example; I will take the line command from the draw tool.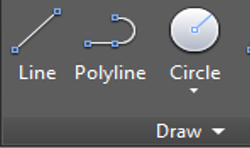
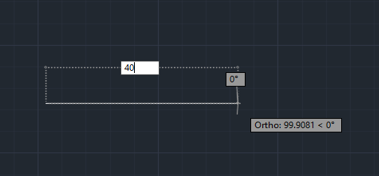
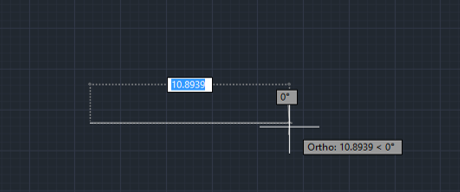
Step 5:Take the point anywhere in the workspace, turn Ortho On by pressing the F8 key.
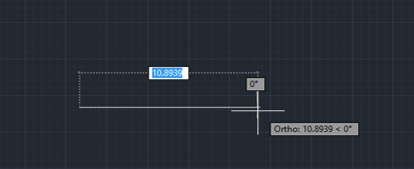
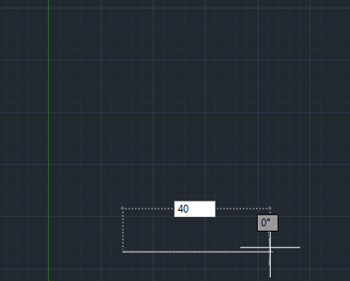
Step 6:Now, I will drag the mouse in the right direction and give the length of 40 mm by typing it from the keyboard and will click Ok to apply my command and press Enter to exit.
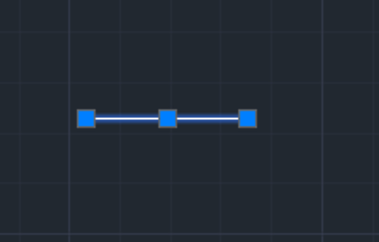
Step 7:You can select any line or object by clicking on it. The selection will show in blue color with some dots. These dots are snapping points of that line or object, i.e. center point of the line, endpoint of the line, etc. Snapping makes drawing easy in AutoCAD software.
How to Draw Inclined Line in AutoCAD?
Let's understand this method with a few examples:
Example #1
Drawing an inclined line in AutoCAD is not hard work. You can easily draw it by giving the inclination angle. For drawing an inclined line, take a line command from the draw tool.
Step 1:Give the first point.
Step 2:Give direction.

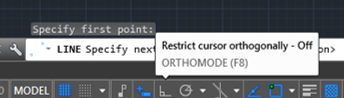
Step 3:Make sure Ortho is in 'Ortho off' mode; for putting it off, press the F8 key.

Step 4:Give length.

Step 5:Press the tab and give the inclination angle, and press Enter key.
Step 6: Again, press Enter or Esc to leave the command.
Example #2
Let's draw it with me as I will do. I will take a line command.
Step 1: Give the first point in my workspace.
Step 2: I will make sure that my Ortho is in Ortho off mode.
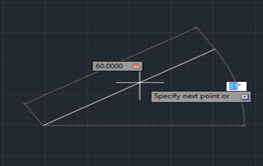
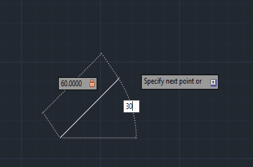
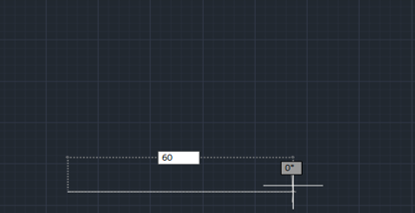
Step 3: Give a length of 60 mm.
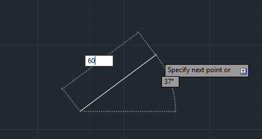
Step 4: Press tab to give the angle of inclination and type 30 as angle, then press Enter to apply the command, and again press Enter to exit.
If you want to continue the line in other direction and inclination, then don't exit from line command; just again give the length of line and inclination angle by following the same steps as we did previously.
Step 5: I will show you how to continue your line. I will again give a length of 40 mm.
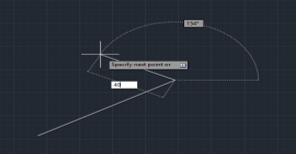
Step 6: Give inclination angle 150, then press Enter to apply this command.
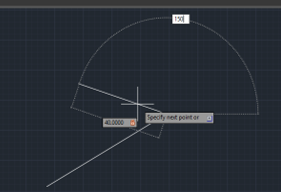
You can continue your line as many as the time you want.
How to Create an Object by Line Command?
The further examples illustrate on creating an object by line command.
Example #1
You can easily make an object my use line command after learning the line command thoroughly.
Step 1: For creating an object, take a line command.
Step 2: Specify the first point.
Step 3: Give direction in which you want to draw a line, give length, then press Enter key.
Step 4: Don't exit from line command. Give another direction, then again give length, and press Enter key.
Example #2
I will show it to you by creating a Rectangle by using the line command.
Step 1: Let's start. I will take a line command.
Step 2: Give the first point.

Step 3: Turn Ortho On for a straight line.
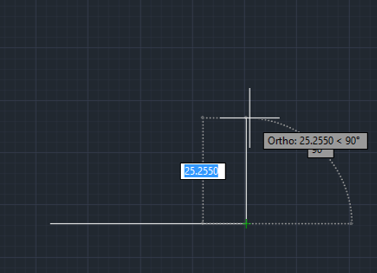
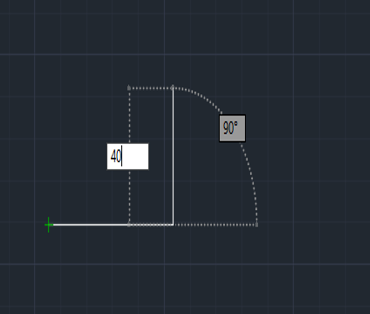
Step 4: Now, I will drag my cursor in the right direction and give the length of 60 mm – press Enter key.
Step 5: Again, I will give direction in the vertical position and give the length of 40 mm, then press Enter key.
Step 6: Then give direction in the horizontal position in the left direction and length of 60 mm, then press Enter key.
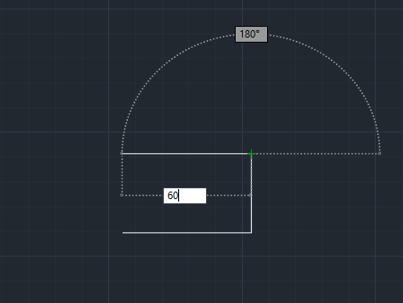
Step 7: Give direction in the vertical position in the down word direction and give the length of 40 mm.
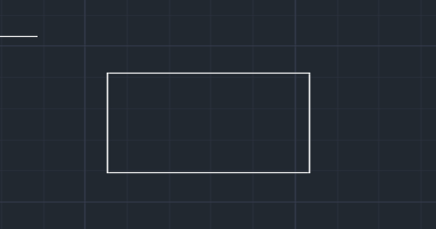
Step 8: You can choose the close option from the lower-left corner of the workspace to close the object.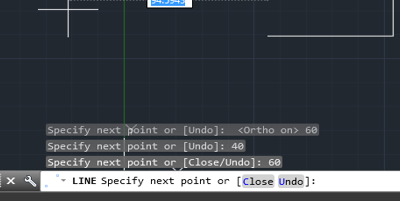
Step 9: Press Enter to exit from command.
In this way, you can make a Rectangle or any object with a line command.
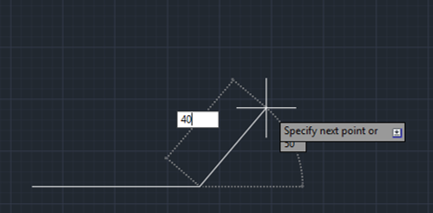
How to Use Straight Line and Inclined Line both in Single Drawing?
We can use both properties of the line in a single drawing by turning the Ortho command On or Off. Let's take a look at how to use this.
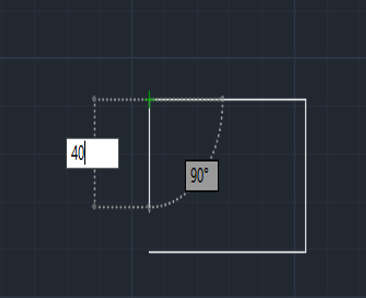
Step 1: I will take the line command.
Step 2: Take the first point.

Step 3: Turning Ortho On.
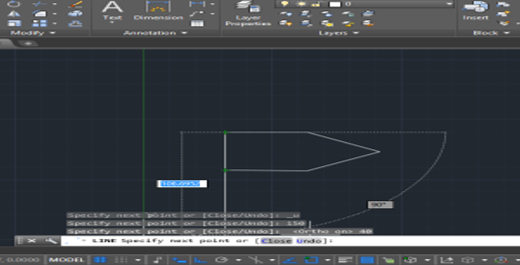
Step 4: Give direction and length of 40 mm – press Enter key.
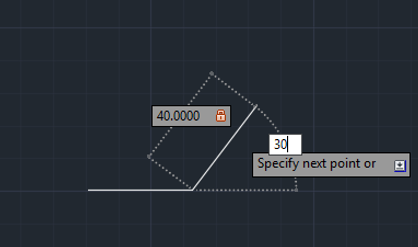
Step 5: Turning Ortho Off now.
Step 6: Give direction and length of 40 mm.
Step 7: Press tab and give 30 as inclination angle, then press Enter key.
Step 8: Follow the same step with a length of 40 mm.
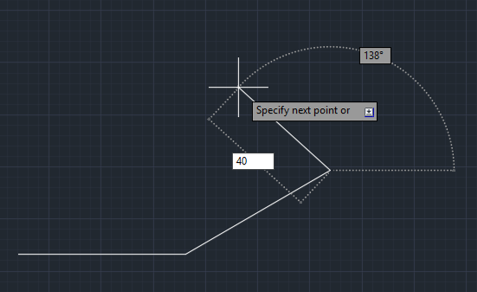
Step 9: Inclination of 150 in other direction, then press Enter key.
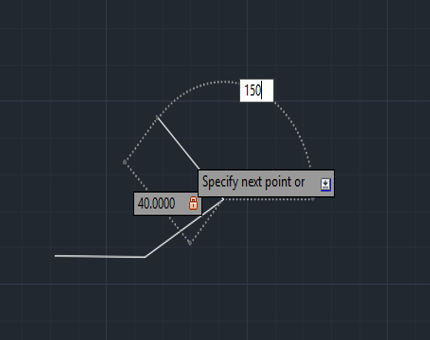
Step 10: Turn Ortho On and give the length of 40 mm and press Enter key.
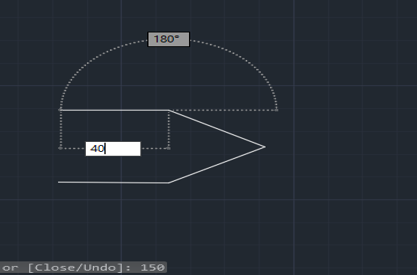
Step 11: Click close to close the fig.
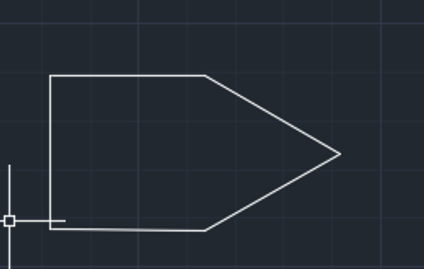
Final Image
Conclusion
After learning about Lines in different expects you can easily find a great difference in your knowledge. Now you can draw any type of drawing in a very professional way. Everybody says 'when the base is clear, then gaining expertise in any work becomes easy, so your base is clear after this tutorial.
Recommended Articles
This is a guide to Lines in AutoCAD. Here we discussed Setting Limit in AutoCAD, drawing a straight line and inclined line, and making an Object by Line command. You can also go through our given articles to learn more-
- Install AutoCAD
- What is AutoCAD
- Offset in AutoCAD
- Thick Lines in AutoCAD
Source: https://www.educba.com/lines-in-autocad/
Enregistrer un commentaire for "Drawing Break Lines in Autocad"